Orchid Click to Pay
Click to Pay Guide
This guide will walk you through the process of activating Click to Pay. This is a feature that Orchid POS offers with their POS and eCommerce websites. In order to have this feature activated on your instance, please submit a support ticket to request this feature to be turned on. You can submit a ticket by clicking on this link Online Technical Support Center | Home (zohodesk.com).
After Click to Pay has been activated on your Point of Sale, you will be able to set credit limits for your individual customers that will allow them to checkout from your eCommerce website and charge their transaction to the House Account you have created the limit for.
Setting Credit Limits
1. Navigate to Loyalty > Contacts
2. Search the customer you wish to grant a credit limit to
3. Click on edit for that customer (This customer must have an email Login for eCommerce setup in order to properly set to the account)
4. Scroll down to the financial section and enter your credit limit
5. Click Update
Custom Payment Request Email Setup
1. Navigate to Settings > Email Options
2. Click on Templates
3. Select AR Payment Login OTP
4. Adjust the Text in the Subject and message as you see fit and click Update. Verbiage in the brackets { } will need to remain unaltered.
5. Select AR Payment Reminder or AR Payment Request
This will bring you to create a campaign email
6. Select Create Default Template
7. Create a Campaign Name (AR Payment Reminder or AR Payment Request)
You can create an individual one for 30 / 60 / 90 / 120 day increments and attach the AR Statement to each email.
8. Enter in the Subject you would like to display
9. Select Your template Type
10. Check if you would like to Attach an AR Statement
11. Set the number of days
12. Populate the template box with the text that you would like to send to the customer
13. Enter in a Template Name
14. Select a Category and Sub Category
15. Click Save Template
16. Select Create Campaign
Repeat these steps for each template email you would like to create
Sending Payment Links
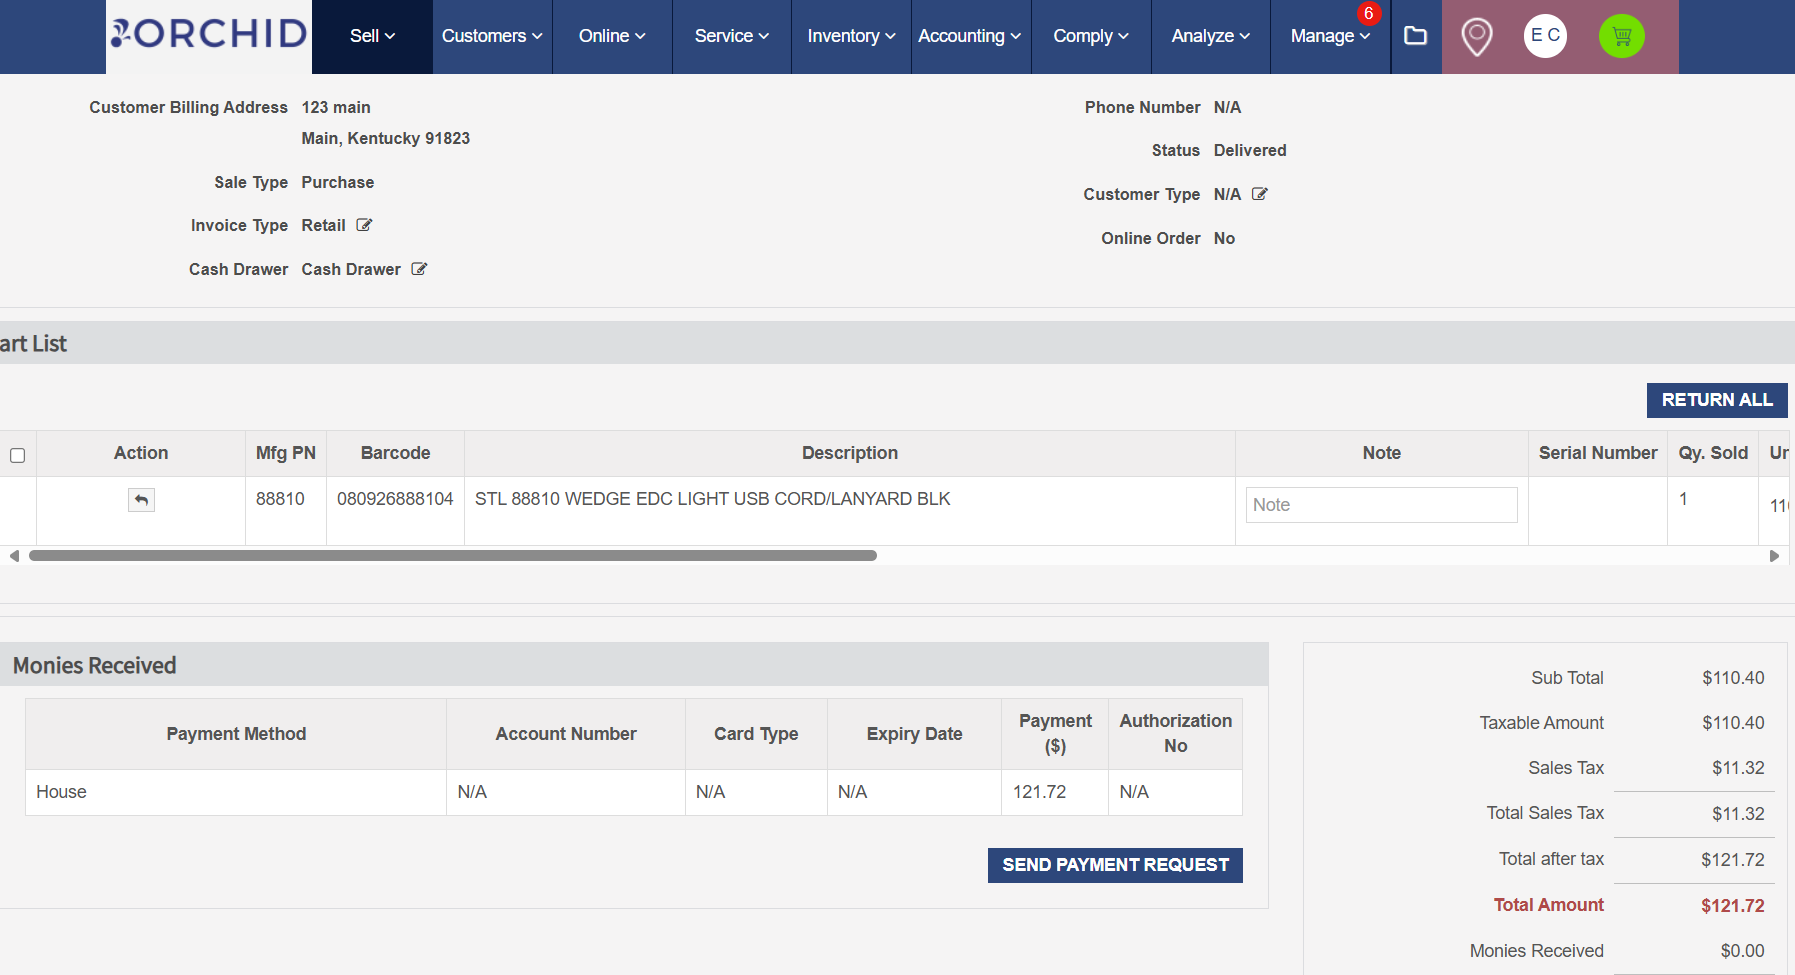
Once an order is placed to the house account you will be able to navigate to the invoice page, scroll down and see the option to send payment link.

Customer Portal
Upon signing into their eCommerce account on your website each customer will be able to access their own profile. They will be able to update their personal information, see their order history, download receipts and also pay their balances on the House Account.
If they wish to use the AR Portal to make their payment, they can click on the Red Card Icon and it will direct them to a secure portal to submit their payment. These payments will be deposited in the same matter that your online order and Point of Sale sales are.
Related Articles
Q4S21.24 Release Notes - Orchid POS/eComm™
Available October 23rd, 2024 This program, printed documentation and documents should not be used as a substitute for professional advice in specific situations. The procedures, images and examples in this document are for illustrative purposes only ...Pay a Customer's Previous Balance
To make a payment toward a previous balance for the current and/or another customer: 1. Click the Pay Account button to view the Pay A/R popup. 2. If it is the current customer’s balance that they are paying, click YES for Pay Now and then select ...Q2S11.23 Release Notes - Orchid eBound™
Q2S11.23 Release Notes Orchid eBoundTM This program, printed documentation and documents should not be used as a substitute for professional advice in specific situations. The procedures, images and examples in this document are for illustrative ...Q2S06.23 Release Notes - POS/eComm
Q2S06.23 Release Notes Orchid POSTM This program, printed documentation and documents should not be used as a substitute for professional advice in specific situations. The procedures, images and examples in this document are for illustrative ...Q2S12.23 Release Notes - Orchid eBound™
Q2S12.23 Release Notes Orchid eBoundTM This program, printed documentation and documents should not be used as a substitute for professional advice in specific situations. The procedures, images and examples in this document are for illustrative ...